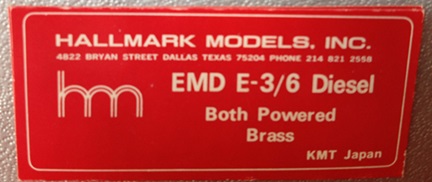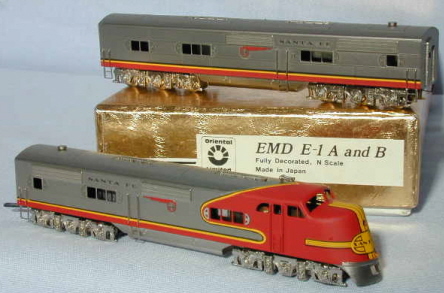
| Hallmark E3/6 A & B | Hallmark E5 A & B |
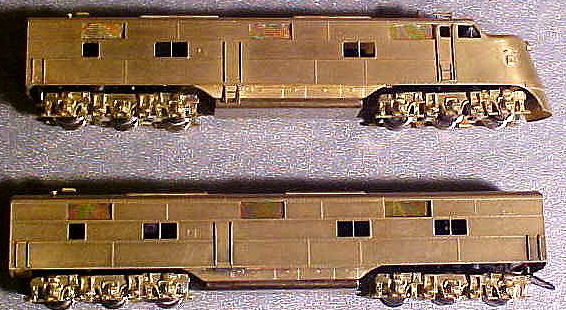 | 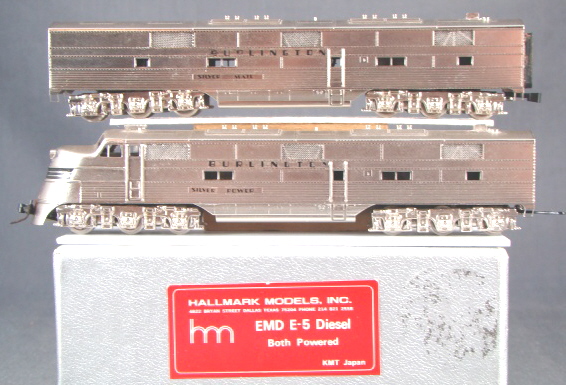 |
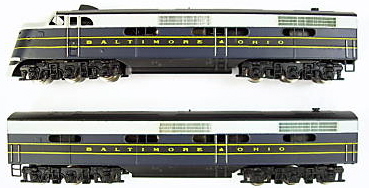
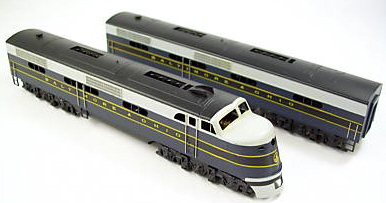

| Hallmark E3/6 A & B | Hallmark E5 A & B |
 |  |


Introduced: 1982 (first-run Oriental Ltd E1 A&B), 1984 (second-run E1 A&B, Hallmark E3/6 A&B, Hallmark E5 A&B) and 1985 (Oriental Ltd EA/EB)
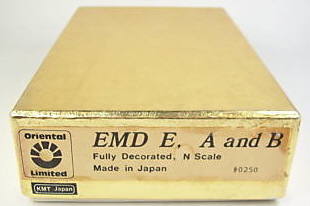
These models all came out around the same time and share the same basic internals, so to save myself a bit of time I'm going to cover them all here. These were all sold in A/B pairs (and with the exception of the 1982 Super Chief set, with both units being powered). The Oriental Ltd E1A/E1B set was only sold in Santa Fe Super Chief paint and the Oriental Ltd EA/EB set was only sold in B&O paint, The Hallmark sets (E5A/E5B and E3/6 A/B) were all sold undecorated (either plain brass or with silver plating). Note that the "E3/6" designation means that these models can stand in for either E3's or E6's (the external differences between the two prototypes being negligible).
As noted above, the 1982 E1 set came with a dummy "B" unit. This apparently generated a number of complaints as the single powered "A" unit was not up to the task of pulling both the dummy B unit and Oriental Ltd's eight-car brass Santa Fe passenger train around. Consequently, an ala carte power chassis was offered in 1984 (thus allowing people to power their dummy E1B's). The second E1 production run (also 1984) had both units powered.
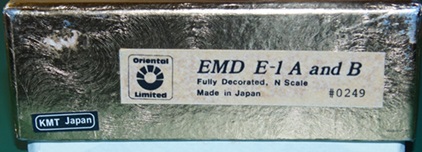
Second run E1 sets are identified by the number "#0249" on the label -
These are all great looking models with fine paint and detailing. The separately applied handgrabs and see-through vent screens are particularly nice. Ala carte rubber diaphragms (to be installed by the modeler) are included for each unit. Also, the step ladder extensions below the A unit cab are supplied uninstalled. I'm assuming this is because they would interfere with the trucks otherwise (and hence, are only good for static display purposes).
Excluding the first-run E1A (and the later E1B replacement power chassis), these models all share the same basic mechanism design (more or less) -
Oriental Ltd E1 (Second Run) -

Hallmark E3/6 and E5 -

Oriental Ltd E -

The chassis is simply a flat rectangle of brass. The motors in the Oriental Ltd models are open-sided / straight-wound 5-polers, whereas the Hallmark models have Sagami can motors. The motor spins lengthy metal driveshafts, each of which have a couple of plastic u-joints (short ball-and-pin style connectors that fit inside notched plastic cups). Only two axles per truck are geared and all gearing is brass. The trucks are held in place inside the worm gear boxes with headless screws. These models do not come with traction tires, window glazing, lighting or couplers (although a fixed drawbar is provided between the A and B units). Wheels are low-profile, so no problems on Code-55 rails.
Weight is provided by the fuel tank (affixed to the bottom of the chassis). And as pictured above, additional heft is provided by ala-carte weights attached to the top of the chassis. All of them have one weight that is screwed to the chassis, and at least some of them have a second weight that is simply glued to the chassis. Further muddying the waters is the fact that some of them don't have the second chassis weight, but do appear to have the glue remains where one would have been mounted. So... I dunno, I guess it's possible that the second weights were Kumata's attempt at addressing the pulling power issues of the first-run E1's (IE, more weight = better traction). All speculation on my part, but it would explain why they were glued (as opposed to screwed) on. As for the "missing" weights... who knows? Acquiring these things used makes it difficult to pin down their original configurations, but perhaps the weights were removed/lost by an owner somewhere down the line?
Although similar in design to the later models, the first-run E1A power chassis actually has more in common with Kumata's 1982 SD40-2 model -

The motor is offset to one side (leaving room for one large weight). Only one driveshaft has connecting cups (and with the connectors being of a different style than the ball-and-pin dogbones used on the later models). Unthreaded knock-out pins hold the trucks to the gearboxes.
The E1B replacement power chassis is a bit of a hybrid, combining features from both the first-run E1A and the other (later) models -

The pickup design on these models is really primitive (and finicky), with each truck only picking up current from a single rail (left rail from the front truck and right rail from the rear truck). Current flows from the six "live" wheels into the axles, which then rub directly on their respective truck assemblies. Consequently, you're going to have to occasionally pull the bottom plates off the trucks and give the axles and axle "pockets" a good cleaning in order to keep things running smoothly. And be careful how you go about lubricating the truck gears. Any sort of traditional lubricant is going to foul the current-collecting axles, so I'd suggest using something like Conductalube instead.
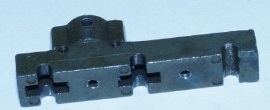
Current flows from the trucks into the gear boxes by way of the knock-out pins, with wires then transferring current to the motor. The forward gear box is isolated from the chassis by way of a thin plastic gasket sandwiched between the box and the chassis. The metal screws that hold the gear box in place are isolated from the box itself by plastic bushings with flared collars that insert into the screw holes. The last mechs in the series (the EA/EBs) have both gear boxes insulated from the chassis.
Performance in a simple test track environment isn't too bad. They're good pullers, they do run relatively quietly (once the axles, gears and bearings have been properly lubricated), and the top-to-bottom speed spectrum is very nice. Unfortunately, there are a number of fairly dire "as delivered" issues that rear up once you move into "real layout" territory. First off, the "one rail per truck" pickup scheme makes insulated-frog turnouts something of an obstacle. No, out and out stalls aren't really a problem, but they do tend to hitch up a bit as they navigate their way through (of course, not an issue with fully powered turnouts). Another problem is that these models tend to slow down rather drastically on grades and through curves - to the point of actually stalling out when faced with 9.75"-radius curves. I'm assuming this has something to do with the low-torque motors as I have an E3/6 set that has been retrofit with Kato motors (pictured below) and they don't have any problem maintaining a constant speed on curves or grades -

The main problem with these models is the trucks. Clearances between the trucks and both the chassis and shell are extremely tight. And the end result is a lot of short-circuiting when one (or both) of the trucks rub up against something that they shouldn't (the problem is particularly bad through curving grades). Fortunately, the solution here is pretty simple - just add some shims to the chassis mount points on the shell (Micro-Trains washers, for example). This will raise the shell up relative to the chassis and give the trucks some much needed breathing room.
So, although "as delivered" these models are pretty much useless, they can be made to run acceptably well if you're willing to invest some time and effort. For those interested in doing so, noted N scale locomotive expert Ron Bearden has compiled a blow-by-blow treatise on how to go about it (up to and including adding DCC-Sound) - The Railwire
To remove the A unit shell, unscrew the two screws on either side of the rear truck and the single screw ahead of the forward truck. The shell should lift off readily at that point. The B units have four shell screws (located next to the trucks) It is not necessary to remove the screw in the center of the chassis - all it does is hold the weight in place.
Grade: D (for all of 'em, although a "B" after the aforementioned tweaking)
